
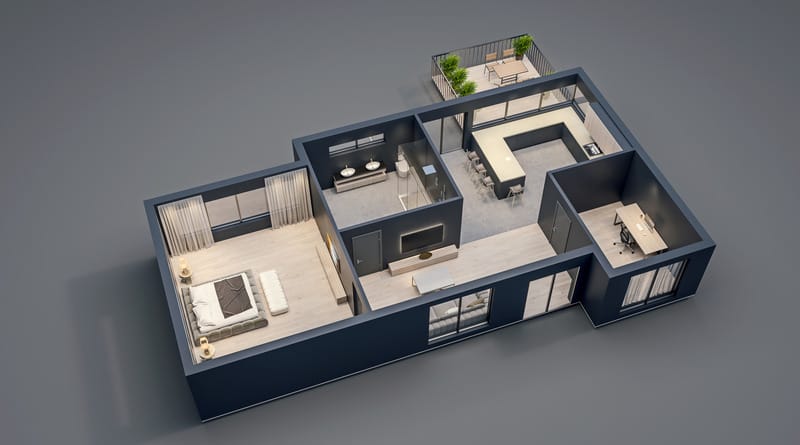
High-impact visual marketing relies on precision. Whether you are launching an architectural development, introducing a new product line, or creating a cinematic 3D animation for a commercial campaign, 3D rendering converts complex blueprints and CAD data into photorealistic visual assets.
However, moving from an initial draft to a polished, final image requires a collaborative feedback phase. Revisions are a natural part of the creative process, but without a clear roadmap, unexpected change requests can lead to project bottlenecks and missed launch dates.
Understanding how the revision workflow operates—and implementing best practices from the start—ensures your project moves smoothly from initial concept to final delivery.
The Typical 3D Rendering Revision Workflow
A professional 3D rendering project moves through structured stages to ensure accuracy before high-resolution rendering begins.
Phase 1: Clay / Grey Render (Geometry & Camera) ──► Phase 2: Materials & Lighting (Colors & Mood) ──► Phase 3: Final High-Res (Post-Processing)
Phase 1: Clay / Grey-Box Render (Structure & Framing)
Before textures, lighting, or materials are added, the team generates a monochrome “clay” render.
- Focus: Camera angles, spatial proportions, geometry, framing, and key structural placement.
- Goal: Confirm the composition and scene geometry before spending compute time on surface details.
Phase 2: Colour, Lighting & Material Preview (Look & Feel)
Once structure is approved, textures, daylighting or artificial lighting, reflections, and environmental details (entourage, landscaping, prop placement) are applied.
- Focus: Wood grains, metal finishes, glass transparency, time-of-day lighting, and contextual surroundings.
- Goal: Fine-tune the atmosphere, interior/exterior finish accuracy, and colour balance.
Phase 3: High-Resolution Final Delivery & Post-Processing
After low-resolution previews are locked in, the final scene is calculated at full resolution (final high-resolution output for static images or high-bitrate frame sequences for a 3D animation). Post-processing adjustments refine colour grading, contrast, and subtle environmental effects.
Common Causes of Revision Delays
Understanding where friction usually occurs helps keep your project on schedule:
- Incomplete Initial Briefs: Starting work without finalized material schedules, interior design schemes, or updated CAD files often leads to complete redesigns during Phase 2.
- Divergent Stakeholder Feedback: When multiple team members send separate, conflicting feedback notes, artistic direction stalls while waiting for consensus.
- Late-Stage Scope Changes: Requesting a camera angle shift or structural alteration during Phase 3 forces the project back to Phase 1, requiring full re-rendering.
4 Practical Strategies to Prevent Timeline Delays
1. Consolidate All Project Assets Upfront
Before rendering begins, provide all available documentation to your visualization studio (EnDesign typically includes 3 complimentary revision rounds, where applicable):
- Updated 2D drawings (DWG/PDF) or 3D models (REVIT/Sketchup/Rhino)
- Detailed finish schedules (paint codes, wood samples, stone textures, furniture specs)
- Preferred camera angles or reference photos showing desired lighting and mood
What Clients Should Provide Before the Project Starts
To ensure a smooth kickoff and minimize delays, clients should provide the following assets prior to starting:
- Architectural and CAD drawings (DWG, PDF, REVIT, SketchUp, or Rhino)
- Finish references and material schedules (paint codes, wood, stone, glass, metal samples)
- Furniture selections and interior layout specs
- Camera-angle preferences and framing direction
- Landscaping references and environmental entourage details
- Consolidated internal feedback from all stakeholders
2. Streamline Feedback Into Single Batches
Avoid sending trickle feedback via separate email threads. Gather comments from your design, marketing, and executive teams, resolve internal disagreements first, and deliver one consolidated mark-up document per review round.
3. Lock Key Elements Phase-by-Phase
Treat each approval milestone as an opportunity to confirm key elements at each stage before moving to the next phase:
- Lock camera placement and geometry at the Clay Render stage.
- Lock finishes, lighting, and staging at the Color Preview stage.
Preventing structural backtracks preserves both your production timeline and project budget.
4. Plan Extra Review Time for Motion & Animation
Because a 3D animation consists of thousands of individually rendered frames, changes to camera paths, pacing, or object motion require significantly more computation time than static updates. Reviewing camera animatics (previz draft videos) early prevents re-rendering entire video sequences later.
Partnering with EnDesign for Seamless Visualization
At EnDesign, clear communication and reliable execution are at the core of our approach. Serving clients across Canada, the United States, and internationally since 2013 from our studios in Toronto and New York, we deliver high-end 3D rendering, 3D animation, virtual tours, and interactive applications tailored to real estate developers, architects, and product brands.
By pairing structured review milestones with fast turnarounds and direct collaboration, we bring your vision to life efficiently and accurately.
Ready to start your next project? Contact EnDesign today to discuss your visual requirements and request a custom quote.